RPCS3 on Windows


KEEP YOUR ADAPTER OR KIT PCB IN DEFAULT PRESET. MAKE SURE TO CALIBRATE WHAMMY (and tilt if applicable)
- Now that your Revived Guitar is on the Default preset, we can now place the “RCM RPCS3 Profile” Configuration file into your RPCS3 controller config folder.
Navigate to wherever you extracted RPCS3.
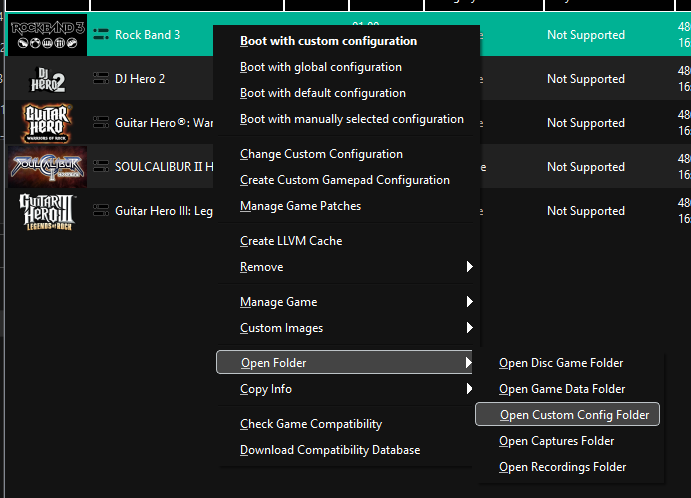
This can be done by either searching for the folder yourself or by right clicking an installed game, hover “Open Folder”, then click “Open Custom Config Folder”.
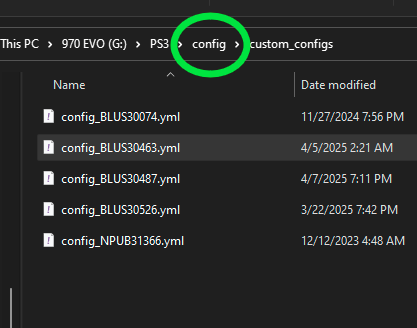
This will open up a window that contains your game configurations.
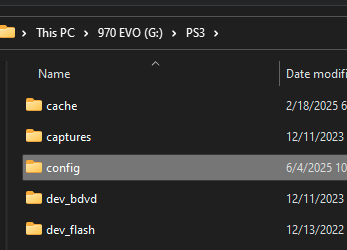
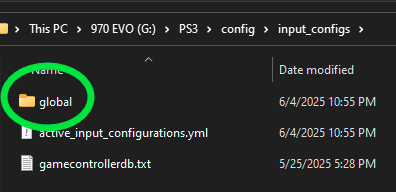
Click the “config” folder.
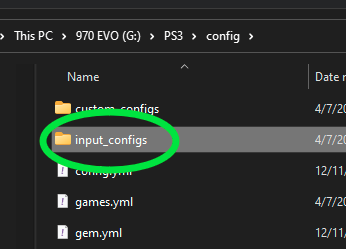
Open the “input_configs” folder. If this folder doesn’t exist, create it.
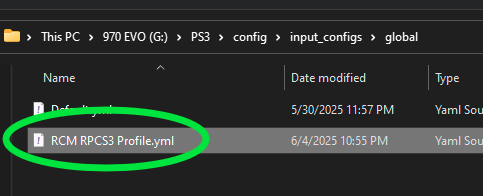
Open the “global” folder. If this folder doesn’t exist, create it.
Lastly, drag the “RCM RPCS3.yml” file into the global folder.
You can now close out of the File Explorer window.
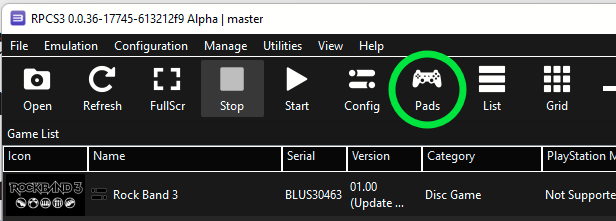
- Returning to RPCS3, click on the “Pads” button at the top. This will open the controller configuration menu.
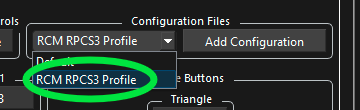
- At the top right of the menu, click on the Configuration Files dropdown menu and switch it to “RCM RPCS3 Profile”.
- At the top middle of the menu, your device should have changed to “XInput Pad #1”. If it shows “(disconnected)” beside it, unplug and plug the guitar back in. Then, click the dropdown and see if there is a device without the disconnected tag. If you don’t see XInput Pads at all, change the handler in the top left to XInput. If you need further support with this part, let us know.

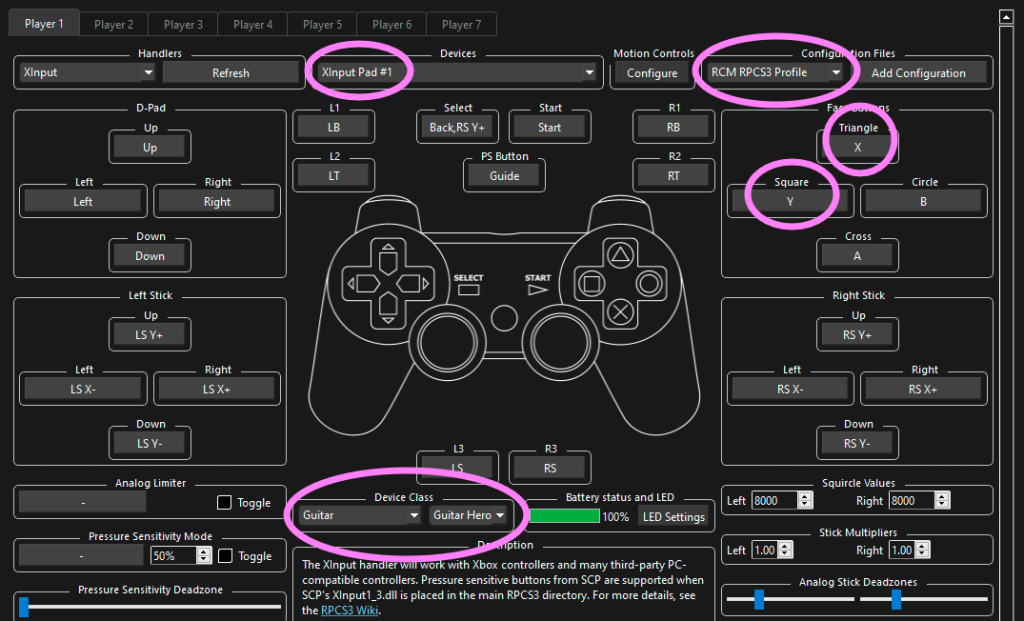
- You can verify that everything is set correctly by comparing to this image.
- Your XInput Pad #1 is selected
- Your Configuration Preset is set to “RCM RPCS3 Profile”
- Triangle is set to X
- Square is set to Y
- Device Class is set to Guitar
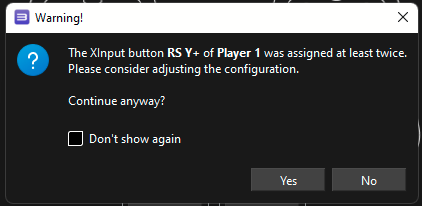
- Hit Save. This window will pop up. Hit Yes.
- Boot your game and have fun!
If you run into any issues, feel free to let us know by clicking here.